


2026-04-01
How to choose a laser displacement sensor? Product selection guide for thickness, section difference, and height detection
Overview
Laser displacement sensorThe most common mistake in selection is to only focus on the center distance and range, while ignoring the color changes, reflective characteristics, movement mode, multiple reflections in narrow spaces, and whether the control system needs to switch between analog and digital outputs. This article presents a way for engineers to rearrange the order of these judgments in a practical manner.
In precision manufacturing and automation production lines, laser displacement sensors are often purchased as "universal ranging heads". The result is that the parameters are fine on a single glance, but when installed on site, a series of problems such as numerical fluctuations, reflection distortion, edge misjudgment, inability to keep up with speed, and inability to set teaching modes begin to occur. At the end of the project, everyone realized that the problem was not a faulty sensor, but rather an error in the initial selection logic.
This article only answers one question:How to choose a laser displacement sensor that can truly adapt to the detection scenarios of thickness, segment difference, height, vibration, and small parts?Conclusion: First, look at the tested object and installation space, then look at the range and center distance; First look at the control requirements, then look at the response time; First, confirm the differences in reflection and material before deciding on the teaching mode and output method. The order is reversed, and the project is likely to need rework.
1Laser displacement sensorWhat scenarios are suitable and what scenarios are not suitable
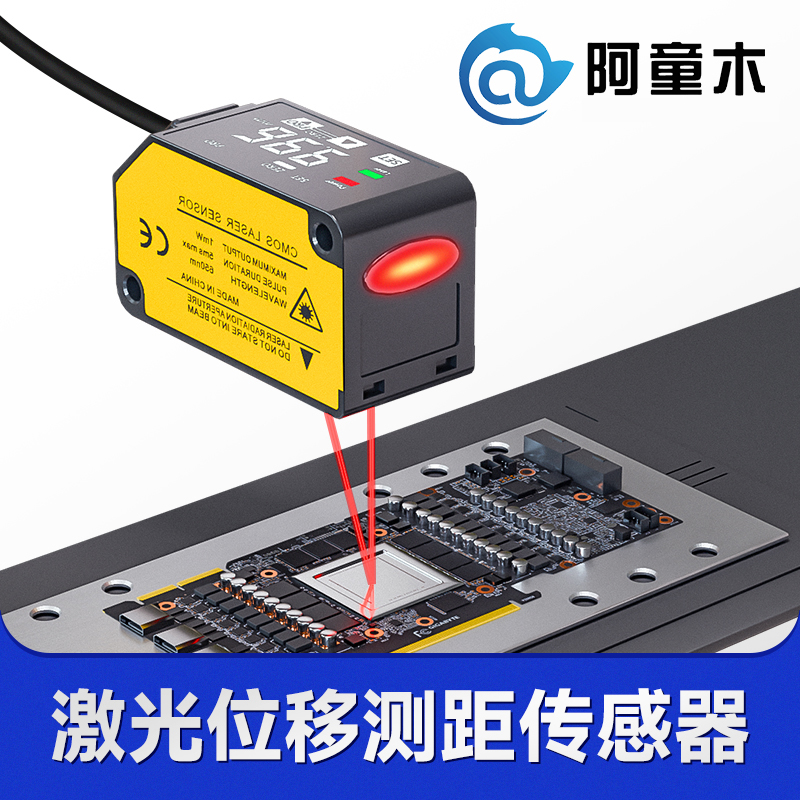
The core value of laser displacement sensors is non-contact, high precision, and fast response. It is suitable for detecting micrometer level distance changes, especially in scenarios where the workpiece cannot be touched, the surface cannot be scratched, and online high-speed judgment is required. Typical applications include online thickness monitoring, segment difference detection, height measurement, flatness inspection, vibration monitoring, as well as feedback on the size and positioning of small parts.
| Application scenarios | Why is laser displacement sensor suitable | Selection focus |
|---|---|---|
| Thin plate and film thickness detection | Non contact, will not scratch the material, suitable for online continuous measurement | Range, response time, analog output stability |
| Segment difference, warping, and step detection | Can recognize small height changes | Installation direction, edge occlusion, sampling speed |
| High reflectivity or color difference workpiece detection | More suitable for continuous displacement judgment than ordinary photoelectric switches | Material switching error, teaching mode setting |
| Narrow workstation, hole measurement | Miniaturization schemes make it easier to enter confined spaces | Background reflection, multiple reflections, and installation blind spots |
| Monitoring of Rotating Body Vibration and Axis Offset | Can be used for non-contact high-speed fluctuation monitoring | Optical section direction, response speed, and filtering settings Q: Why can't ordinary photoelectric sensors directly replace laser displacement sensors? Answer: Because many projects do not require a "yes/no" judgment, but rather a continuous distance change. When encountering color changes, reflection differences, small height deviations, or segment edge differences, ordinary optoelectronic solutions often can only provide switch results and cannot stably express the true displacement. |
2、 The first step is to check the range and center distance, not just 'can it be captured'
The LD1 series currently promoted by Atorm covers center distances ranging from 30mm to 400mm, corresponding to different measurement ranges. Many people only focus on how far they can measure when looking at specifications, which is not enough. The center distance is only the nominal working point, which truly determines whether you can measure stablyWhether the target installation distance falls within the effective linear range, and whether the amplitude, assembly tolerance, and motion deviation of the workpiece have been consumed by the measuring range.
| series | center distance | measurement range | More suitable scenarios |
|---|---|---|---|
| LD1-H030 | 30mm | ±5mm | Small parts, narrow workstations, short distance high-precision detection |
| LD1-H050 | 50mm | ±15mm | Conventional size inspection, compact structure equipment |
| LD1-H100 | 100mm | ±35mm | General industrial measurement and medium installation space scenarios |
| LD1-H200 | 200mm | ±80mm | Scenarios with larger workpieces and more significant height changes |
| LD1-H400 | 400mm | ±200mm | Measurement requirements for large-span structural components with long background distances |
If your target workpiece has vertical jumping, positioning deviation, or height changes caused by tool switching, the center distance should not be too tight when selecting. Leave a margin for dynamic errors during device operation. In other words, a larger range is not necessarily better, but insufficient margin will inevitably lead to repeated on-site adjustments.
3、 How to choose response time? The key is to look at the pace rather than the "high speed" in the promotion
The LD1 series supports three response times: high-precision mode 10ms, standard mode 5ms, and high-speed mode 1.5ms. Many projects want to directly switch to high-speed mode as soon as they see 1.5ms, but this is not always correct. The faster the response time, the more sensitive the system is to noise, vibration, and instantaneous fluctuations. The truly reasonable approach is to judge based on both the production line rhythm and signal stability.
A simple method of judgment:
- If you are making small size judgments and detecting non extreme beats, prioritize high-precision or standard modes and stabilize the data first.
- If you are doing high-speed sorting, flying measurement, or millisecond level online judgment, then evaluate whether the 1.5ms high-speed mode is necessary.
- If the workpiece itself has vibration, shaking, or unstable transportation, blindly switching to high-speed mode will make the data even more difficult to use.
- Q: Does the faster the response time, the higher the accuracy?
Answer: No. The quick response solves the problem of "not keeping up with the pace", not "measuring more accurately". High speed mode is suitable for fast beats, but if there are large fluctuations on site, faster sampling will only amplify the existing jitter more completely.
4、 The output signal is selected incorrectly, and the subsequent control assembly needs to be redone
Laser displacement sensorCommon errors do not occur in "measurement", but in "system connection". The LD1 series supports NPN or PNP open collector output, and some models also support 0-5V voltage analog and 4-20mA current analog. It seems like there are many configurations, but if the controller requirements are not clearly understood in the early stages, it is easy to rework later in the project.
| output type | Suitable scenarios | What needs to be confirmed first |
|---|---|---|
| NPN/PNP switch quantity | Upper and lower limit determination, in place detection, window comparison | PLC input type, ON logic when illuminated or ON logic when not illuminated |
| 0-5V analog quantity | Continuous displacement acquisition, experimental platform, short distance control | Analog card voltage input range, anti-interference and cable length |
| 4-20mA analog quantity | Continuous measurement and long-distance transmission at industrial sites | Does the controller's current input specification and load impedance not exceed 300 Ω |
If only threshold determination is done, the switch output is often more direct; If the displacement curve needs to be connected to the upper computer, PLC or data acquisition system for trend monitoring, analog output is more suitable. Many projects add requirements in the later stage, which essentially means that the data is not clearly defined in the early stage whether it is "to be judged" or "to be recorded".
5、 Color change, reflection difference, and material switching are the real difficulties in selecting laser displacement sensors
In industrial sites, the truly difficult workpieces are usually not "far away", but rather have complex surface conditions. For example, a workpiece may have both black and white color differences, switch between bright and matte surfaces, or switch from a light absorbing material to a highly reflective material. Ordinary solutions are prone to output drift or distortion of teaching values under such operating conditions. The LD1 series' approach to addressing such issues includes not only the hardware itself, but also the coordination of teaching modes and installation directions.
That is to say, when selecting a model, one should not only ask "can this sensor detect black objects", but also ask more specifically:Is the target object being measured in a stationary state or in a moving state? Is the color change abrupt? Will the reflective background enter the light path?These issues are not clear, and even the best on-site debugging engineers can only rely on repeated trial and error.
6、 Teaching mode is not an auxiliary function, but a part of the landing capability of laser displacement sensors
The LD1 series supports 1-point teaching, 2-point teaching, 3-point teaching, and limited teaching. Many people do not pay attention to this module during the procurement stage, and only realize it when the background is complex, the target is small, and the window threshold is difficult to set. This is precisely the key to whether the project can be quickly launched.
- 1 point of instruction:Suitable for setting upper and lower limits centered on a single reference plane.
- Teaching at 2 or 3 o'clock:Suitable for window comparison or establishing clearer judgment boundaries.
- Limited instruction:It is particularly valuable when the background exists and the target object is small or fine, and background influence can be prioritized for filtering.
flowchart TDA [Start Selection] -->B {What is the main task}
B --> |Continuous measurement of thickness/height | C [Priority evaluation of analog output]
B --> |In place/out of tolerance judgment | D [Priority evaluation of switch output]C --> E [Select range and center distance based on installation distance]D --> E
E --> Is there a significant change in the color or material of the workpiece
F --> |Yes | G [Key confirmation of teaching mode and installation direction]
F --> |No | H [Set according to regular window settings]
G --> I [Confirm Response Time and Background Reflection Again]
H --> I
I --> J [Complete on-site debugging plan]
7、 The installation space and direction of the light path often determine whether the project can be stable in the end
Many laser displacement projects fail not because the sensor itself is not functioning properly, but because the installation method makes it inherently unstable. Several typical issues have been clearly mentioned in the data: segment edge obstruction, incorrect direction of rotating body vibration, multiple reflections on walls in holes and narrow spaces, and misjudgment caused by background reflection.
These types of problems have one thing in common:
They may not be reproducible on the experimental bench, but they will definitely appear on site.
| So in the selection stage, the installation posture should be considered together, rather than buying sensors first and waiting until the mechanical installation is completed to remedy it. For example, when measuring a rotating body, the optical plane should follow the amplitude direction; When measuring inside the hole, it is necessary to evaluate whether it will hit the inner wall; If the background is too bright, it is necessary to perform a matte blackening treatment if necessary. | 8、 How to choose a more reliable laser displacement sensor in different application scenarios | 1. Online thickness detection |
|---|---|---|
| Prioritize range, repeatability stability, and analog output mode. If continuous uploading of thickness change data is required, 0-5V or 4-20mA output is more common. If there is a lot of on-site interference and the wiring distance is long, current type output is usually preferred. | 2. Segment difference and warping detection | Prioritize installation direction and response time. When the edge of the workpiece passes through the detection point, if the laser path is not coordinated with the direction of movement, the edge obstruction will directly bias the measurement result. In this scenario, mechanical installation is often more important than parameters. |
| 3. Height and flatness measurement | Prioritize center distance, range margin, and data stability. If the color of the tested surface changes significantly, the teaching mode must be considered when selecting, otherwise different areas will exhibit different reflection characteristics, making it difficult to unify the threshold. | 4. Detection of small parts and narrow workstations |
| Priority should be given to micro models, short range, and limited teaching functions. The small space is not just a problem of not being able to fit, the greater risk is that the background wall reflection and secondary reflection inside the hole can disrupt the signal. | 9、 A table to understand the selection sequence of laser displacement sensors | step |
| Issues to be confirmed | Corresponding results | the first step |
| Do you want continuous measurement or switch judgment | First, decide whether to use analog or NPN/PNP output | Step two |
What are the installation distance, workpiece runout, and structural tolerancesDetermine the center distance and range of measurementStep three
How fast the beat is, how intense the target object's movement is
Determine the response mode of 10ms, 5ms, or 1.5ms
Step 4
Is the color, material, and background reflection of the workpiece complexPlan the teaching mode and installation direction in advanceStep 5
You May Be Interested
-
Atonm MDSC-9000T Dual-Channel, Single-Sensor Metal Double-Sheet Detector
2025-12-05
-
Non-Contact “One-to-Four” Double-Sheet Detector 1600S: A New Cost-Reduction and Efficiency Solution for Stamping Lines
2025-11-20
-
Mold damage, production delays? Atonm MDSC-8200T metal double-sheet detector protects automotive stamping lines
2025-10-30
-
Provincial Auto Industry Research Tour | Atonm Engages with the Automotive Supply Chain, Empowering Smart Manufacturing through Sensors
2025-10-11